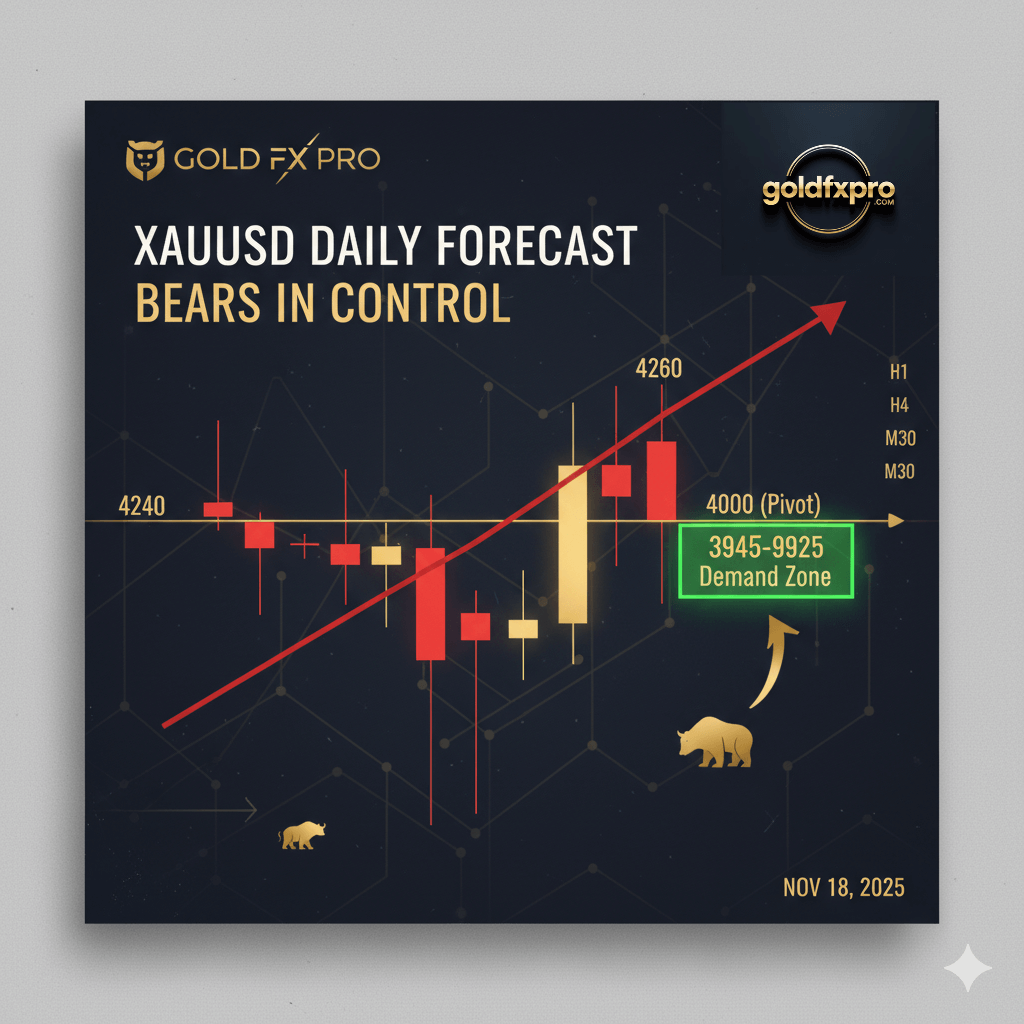
XAUUSD Daily Forecast Bears dominate Gold below 4,060, targeting the key 3,945–3,925 demand zone. Short the rallies is the primary strategy.
Welcome to your daily GoldFxPro analysis for XAUUSD. The picture is clear: Gold is fundamentally bearish on the short-term charts. Price action is defined by a controlled selloff within a falling channel, defending every resistance level. Until bulls can decisively reclaim the 4,060 level, the path of least resistance remains to the downside.
Quick Technical Picture: The Bearish Grind
Gold is currently sitting precariously near the 4,012 – 4,000 Pivot Area, hugging the lower boundary of a clear falling channel. This is not a strong pullback; it’s a structural breakdown.
- Structure: We see a consistent series of lower highs and lower lows.
- Resistance: Repeated failures at the 4,220 – 4,240 Major Resistance zone confirm seller dominance.
- Momentum: H1 and H4 downward-sloping trendlines are acting as dynamic resistance, crushing any bullish counter-attempt.
- Immediate Target: Price is being ground down toward the critical 3,945 – 3,925 Green Demand Zone. This is where a high-probability bounce is expected.
The Bottom Line: A sustained move above 4,060 is necessary to invalidate the short-term bearish bias.
Key Support & Resistance Levels to Watch
| Level Type | Price Range | Description |
| Major Resistance | 4,240 – 4,225 | The ceiling. Last strong selling zone with sharp rejection. |
| Resistance 2 | 4,180 – 4,160 | Break-and-retest failure zone (M30). |
| Resistance 1 | 4,105 – 4,095 | Near-term lid. Last bearish structure break. |
| Immediate Resistance | 4,060 – 4,045 | The Flip Zone Trendline confluence. A break here shifts momentum. |
| Pivot Area | 4,020 – 4,000 | Current market sitting. A break below accelerates the fall. |
| Support 1 | 3,980 – 3,965 | Lower channel boundary + previous demand wick. |
| Support 2 (Target) | 3,945 – 3,925 | Key Demand Zone High probability of a significant bounce/reversal. |
| Support 3 | 3,900 – 3,880 | Deeper H4 downside target. |
Preferred Trade Setups for the Day
Our primary focus is on trading with the trend Shorting the Rallies.
Setup B Fade / Short at Resistance (Primary)
This is the textbook bearish continuation setup aligned with the clear lower-high, lower-low structure. Do not chase red candles.
| Parameter | Details |
| Plan | Wait for a clear pullback into resistance before entering short. |
| Entry | 4,060 – 4,090 (Ideal Entry: 4,075) |
| Stop Loss (SL) | 4,120 (Placed safely above structure) |
| Take Profit 1 (TP1) | 4,000 |
| Take Profit 2 (TP2) | 3,965 – 3,950 |
| Risk/Reward | Favorable 1:2 to 1:3.5 |
Setup A Momentum Long (The Don’t Be a Hero Trade)
This setup is only valid upon a confirmed structural shift. Strictly adhere to the rule No long entry unless the H1 candle closes clearly above 4,060.
| Parameter | Details |
| Plan | Wait for a confirmed break above 4,060 and a clean retest that holds. |
| Entry | 4,065 – 4,075 (after retest confirms) |
| Stop Loss (SL) | 4,030 (below retest zone) |
| Take Profit 1 (TP1) | 4,105 |
| Take Profit 2 (TP2) | 4,160 |
| Why | Only to be considered if the market flips from a lower-low series to a higher-low pattern. |
Tactical Trading Rules (The Golden Rules)
Discipline is the only edge you have in volatile markets.
- NO LONG ENTRY unless the H1 candle CLOSES above 4,060.
- Only Short after a clear pullback; never chase a fast drop (red candles).
- Place your Stop Loss (SL) outside the structure, never within the immediate noise.
- Risk no more than 1% of your account per trade. Volatility is high.
- Avoid entries 15 minutes before or after major USD news releases.
Position Sizing Example: For a $10,000 account, risking 1% ($100) with a 30 USD Stop Loss distance gives you a maximum position of $100 \div 30 = 0.33 lots. Trade size MUST be based on your risk.
Short-Term Forecast (Next 24–72 Hours)
- Scenario 1: Neutral / Cautious Outlook: This is the most likely path. Expect sideways chop between 4,040 – 3,980. This favors our “Short-the-Rally” strategy as resistance levels are respected.
- Scenario 2: Hawkish / USD Strength: Gold will likely break 3,980 and accelerate toward the deep demand zone at 3,945 – 3,925. This will be the safest zone for buyers to show up.
- Scenario 3: Dovish Fed / USD Weakness: Gold may attempt a recovery to 4,075. A break and hold above this level opens the door to 4,120, but bearish pressure will likely cap the move.
Final Takeaway: Gold is heavy and weak. Every bounce is a shorting opportunity until the market reclaims 4,060. The best and safest long setup will be a reversal from the 3,945 – 3,925 Green Demand Zone.
What does the article mean by Gold being in a “controlled selloff
controlled selloff indicates a structural and orderly decline in price, as opposed to a panic crash. In this context, it means the price is making lower highs and lower lows within a clear falling channel, and resistance levels (like 4,060) are being respected by sellers. The selling is consistent, showing an underlying bearish trend dictated by larger market participants.
Why is the 4,060 – 4,045 zone so critical for XAUUSD
This area is designated as the Immediate Resistance and the “Flip Zone.” It represents a confluence of the downward-sloping trendline and a previous micro-support zone. If bulls manage to break and hold above $4,060, it would signal a short-term market structure shift, invalidating the current lower-high, lower-low pattern and shifting momentum back to the upside. Below this level, the bearish bias remains strong.
What is the significance of the 3,945 – 3,925 “Green Demand Zone
The 3,945 – 3,925 range is identified as a high-probability accumulation zone where significant buying volume is expected to enter the market. This often correlates with a major support level on the higher timeframes (H4/Daily). If the price reaches this zone, the likelihood of a strong technical bounce or the beginning of a larger reversal is high, making it a key downside target for shorts and a potential long entry for counter-trend traders.
Why is “Short the Rallies” the primary trade strategy
Short the rallies” is the primary strategy because the trend is currently bearish. Trading with the trend (shorting) carries a higher probability of success than trading against it (longing). The strategy involves waiting for a price pullback toward a known resistance level (like 4,075), where momentum is exhausted, before entering a short position, ensuring a better entry price and a tighter stop loss.
How is the Lot Size calculated in the Example Position Sizing Rule
The Lot Size calculation is a core element of risk management. It ensures you only risk a predefined percentage of your account ($100 or 1% in the example). The formula is:$$\text{Lot Size} = \frac{\text{Risk per Trade (in currency)}}{\text{Stop Loss Distance (in price units)}}$$For Gold (XAUUSD), using the example:$$\text{Lot Size} = \frac{\$100 \text{ (1\% Risk)}}{\$30 \text{ (Stop Loss Distance)}} = 0.33 \text{ lots}$$This calculation prevents emotional over-leveraging and maintains consistent risk across different trades.
What events should traders watch next for direction
Key events include upcoming comments from Fed officials such as John Williams and Christopher Waller, the House vote on the funding bill, and the release of official labor and inflation data once the U.S. government fully reopens.


